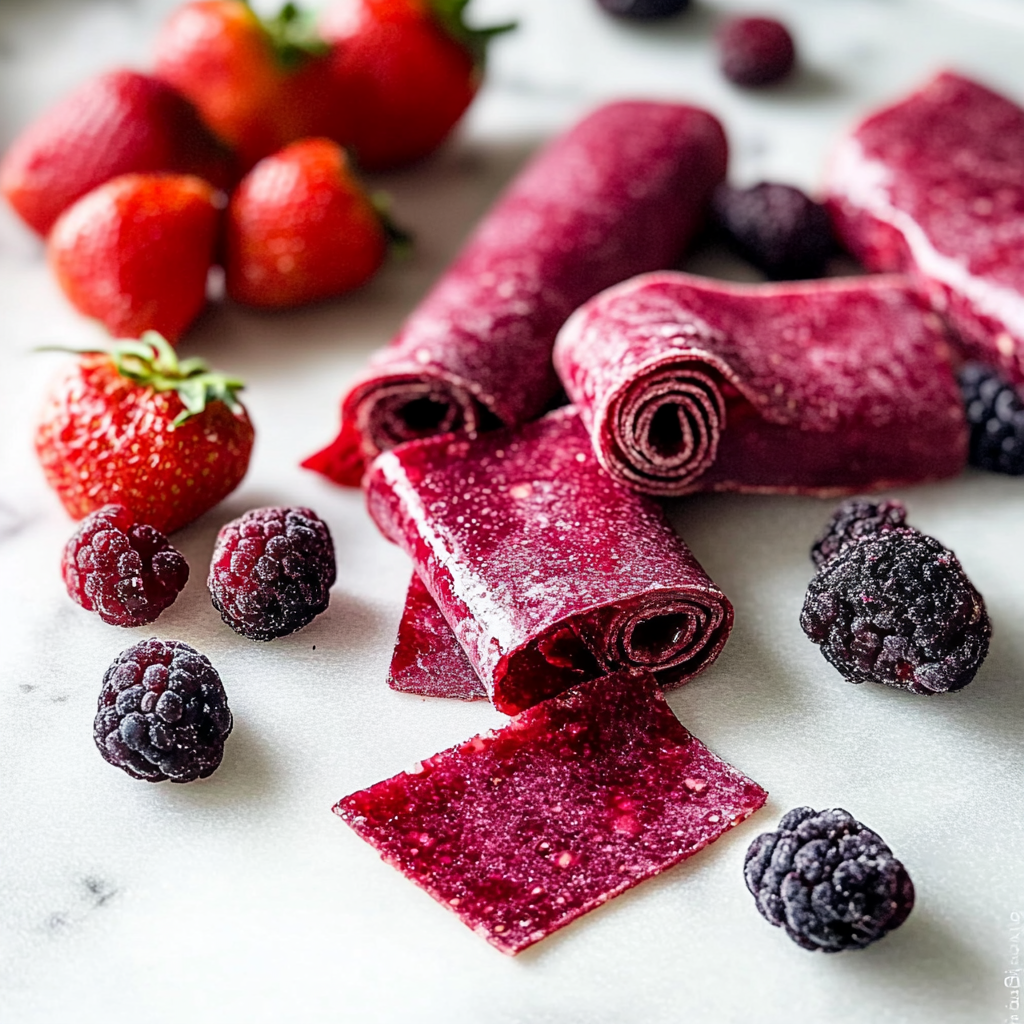
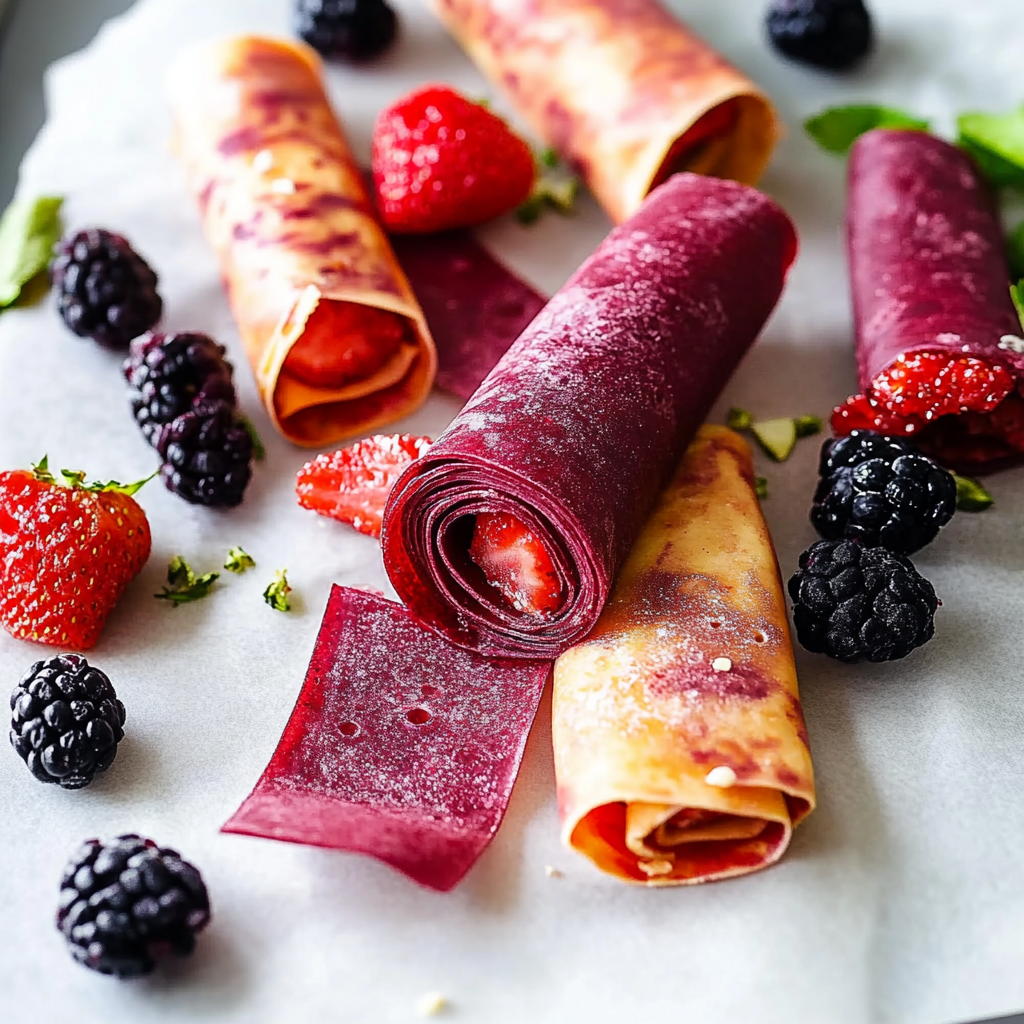
Homemade Fruit Roll-Ups are like nature’s candy, but with a twist of your own creativity. Imagine biting into a chewy, fruity delight that bursts with flavor and sweetness, all while being completely guilt-free. The aroma of fresh fruit wafts through the kitchen as you blend, cook, and prepare these delightful snacks, making your mouth water in anticipation of the chewy goodness to come.

You might remember those store-bought fruit roll-ups from childhood—sticky fingers and sugary smiles galore. But what if I told you that you could whip up your very own version at home? Homemade Fruit Roll-Ups are not just delicious; they’re also customizable for any occasion, whether it’s a picnic in the park or a movie night at home. So roll up your sleeves and get ready for an exciting adventure in flavor!
Why You'll Love This Recipe
- Homemade Fruit Roll-Ups are incredibly easy to prepare and require minimal ingredients
- With endless flavor combinations, you can tailor them to suit your taste buds perfectly
- Their vibrant colors and chewy texture make them visually appealing for kids and adults alike
- Plus, they’re a healthy snack option that’s perfect for on-the-go munching!
Ingredients for Homemade Fruit Roll-Ups
Here’s what you’ll need to make this delicious dish:
-
Fresh Fruits: Choose fruits such as strawberries, mangoes, or apples based on your preference; ripe fruits yield the best results.
-
Honey or Maple Syrup: Use natural sweeteners to enhance flavor without overpowering the fruit’s natural sweetness.
-
Fresh Lemon Juice: A splash of lemon juice balances the sweetness and adds brightness to the flavor profile.
-
Optional Add-ins: Consider adding spices like cinnamon or vanilla extract for an extra flavor kick.
The full ingredients list, including measurements, is provided in the recipe card directly below.

How to Make Homemade Fruit Roll-Ups
Follow these simple steps to prepare this delicious dish:
Step 1: Prepare the Fruits
Wash and chop your chosen fruits into small pieces. If you’re using apples or pears, make sure to remove the core!
Step 2: Blend Until Smooth
Place the chopped fruits into a blender or food processor along with honey (or maple syrup) and lemon juice. Blend until you achieve a smooth consistency—think silky fruit puree.
Step 3: Cook Down the Mixture
Transfer the blended mixture into a saucepan over medium heat. Let it simmer for about 10-15 minutes until it thickens slightly; stir occasionally to prevent sticking.
Step 4: Spread on Baking Sheets
Preheat your oven to its lowest setting (around 170°F or 77°C). Line a baking sheet with parchment paper and pour out the fruit mixture. Spread it evenly with a spatula until it’s about 1/8 inch thick.
Step 5: Bake Low and Slow
Place the baking sheet in the oven and let it dry out for about 6-8 hours (yes, patience is key here). You’ll know it’s done when it feels tacky but not wet.
Step 6: Slice and Enjoy!
Once cooled, peel off the parchment paper and cut into strips or shapes of your choice. Roll them up like little fruity treasures and enjoy!
Transfer to plates and serve them as snacks or treats that will surely impress family and friends!
You Must Know
- Homemade fruit roll-ups are a delightful, chewy snack that spark joy in both kids and adults
- They’re easy to make and customizable with your favorite fruits, making them a perfect treat for any occasion
- Plus, they’re healthier than store-bought versions!
Perfecting the Cooking Process
To make homemade fruit roll-ups efficiently, start by puréeing your chosen fruit until smooth. Spread the mixture evenly on a baking sheet lined with parchment paper, then dry it in a low oven or dehydrator until it’s pliable but not sticky.
Add Your Touch
Feel free to customize your homemade fruit roll-ups by mixing different fruits, adding spices like cinnamon or vanilla extract, or incorporating veggies like spinach for an extra nutritional boost. Get creative; the sky’s the limit!
Storing & Reheating
Once cooled, cut your homemade fruit roll-ups into strips and store them in an airtight container at room temperature for up to two weeks. No reheating is necessary; just grab and go!
Chef's Helpful Tips
- For the best homemade fruit roll-ups, use ripe fruits for natural sweetness
- Make sure to spread the fruit mixture evenly to ensure even drying
- If you want a stronger flavor, try adding lemon juice or zest before baking
It’s funny how my first attempt at homemade fruit roll-ups turned into a family project. My kids were so excited that they practically turned our kitchen into a mini-fruit factory!
FAQs:
What are Homemade Fruit Roll-Ups made of?
Homemade Fruit Roll-Ups are typically made from pureed fruit, sweeteners like honey or maple syrup, and sometimes a splash of lemon juice for added flavor. You can use any fruit you prefer, such as strawberries, mangoes, or apples. The process involves blending the fruit until smooth, spreading it on a baking sheet, and dehydrating it in the oven or a food dehydrator. This makes for a healthy snack that is free from preservatives and artificial flavors.
How long do Homemade Fruit Roll-Ups last?
When stored properly, Homemade Fruit Roll-Ups can last up to one week at room temperature. For longer storage, keep them in an airtight container in the refrigerator for about two weeks. You can also freeze them for up to six months. It’s important to ensure they are completely dried before storing to prevent any moisture that could lead to spoilage.
Can I add sugar to my Homemade Fruit Roll-Ups?
Yes, you can add sugar or other sweeteners to your Homemade Fruit Roll-Ups if you desire a sweeter taste. However, many fruits are naturally sweet enough that additional sugar may not be necessary. If you choose to add sweeteners, be mindful of the amount so that it doesn’t overpower the natural fruit flavor. Experiment with different fruits and sweetness levels to find your perfect balance.
Are Homemade Fruit Roll-Ups healthy?
Homemade Fruit Roll-Ups are generally healthier than store-bought options because they do not contain artificial colors, flavors, or preservatives. They provide vitamins and nutrients found in whole fruits while allowing you to control the amount of added sugars. When made with fresh ingredients, these roll-ups offer a natural source of energy and can be a great snack option for kids and adults alike.
Conclusion for Homemade Fruit Roll-Ups:
In conclusion, making Homemade Fruit Roll-Ups is both simple and rewarding. This delightful snack allows for creativity with different fruits and flavors while ensuring you know exactly what goes into it. By following recommended storage methods, you can enjoy these tasty treats for weeks. Whether you’re looking for a healthy snack option or a fun project with kids, Homemade Fruit Roll-Ups fit the bill perfectly! Enjoy experimenting with various fruits and share your creations with family and friends!

Homemade Fruit Roll-Ups
- Total Time: 8 hours 15 minutes
- Yield: Approximately 10 servings 1x
Description
Indulge in the delightful taste of homemade fruit roll-ups, a fun and nutritious twist on a childhood favorite. These chewy, fruity snacks are bursting with flavor and are completely customizable to suit your palate. Made from fresh fruits and natural sweeteners, they offer a guilt-free treat perfect for any occasion—be it a picnic or a family movie night. Get ready to impress with this easy recipe that transforms simple ingredients into a healthy snack everyone will love!
Ingredients
- 2 cups ripe strawberries (or your choice of fruit)
- 2 tablespoons honey or maple syrup
- 1 tablespoon fresh lemon juice
- ½ teaspoon cinnamon or 1 teaspoon vanilla extract (optional)
Instructions
- Prepare the Fruits: Wash and chop fruits into small pieces, removing any cores.
- Blend Until Smooth: In a blender, combine chopped fruits, honey (or maple syrup), and lemon juice. Blend until you achieve a smooth puree.
- Cook Down the Mixture: Transfer the puree to a saucepan over medium heat and simmer for about 10-15 minutes until slightly thickened, stirring occasionally.
- Spread on Baking Sheets: Preheat the oven to its lowest setting (around 170°F). Line a baking sheet with parchment paper and pour out the fruit mixture, spreading it evenly to about 1/8 inch thick.
- Bake Low and Slow: Place the baking sheet in the oven and bake for 6-8 hours until the roll-up feels tacky but not wet.
- Slice and Enjoy: Once cooled, peel off the parchment paper, cut into strips or shapes, roll them up, and serve!
- Prep Time: 15 minutes
- Cook Time: 8 hours
- Category: Snack
- Method: Baking
- Cuisine: Various
Nutrition
- Serving Size: 1 roll-up (20g)
- Calories: 45
- Sugar: 7g
- Sodium: 0mg
- Fat: 0g
- Saturated Fat: 0g
- Unsaturated Fat: 0g
- Trans Fat: 0g
- Carbohydrates: 11g
- Fiber: 1g
- Protein: 0g
- Cholesterol: 0mg


